How to Add a Ride Manually
Follow these easy steps in order to add a ride manually to your Great Cycle Challenge account if you're using an odometer, exercise bike or watch-based distance calculation device to track your rides throughout October.
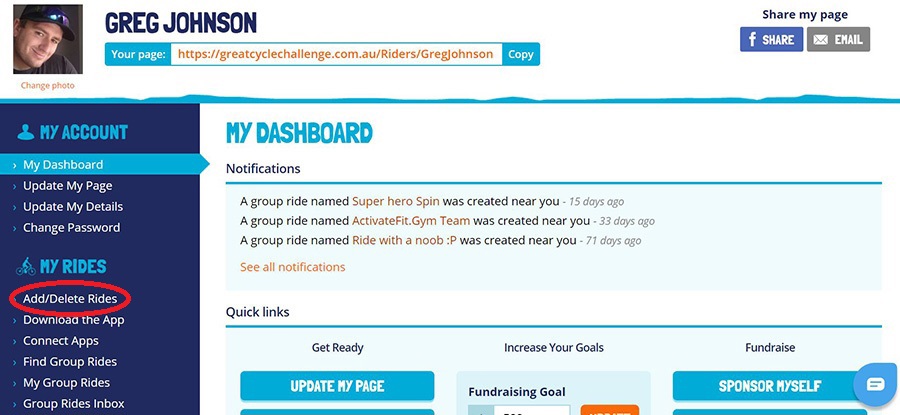
1) Login to your Great Cycle Challenge account if you're not logged in already or click on My Dashboard if you are already logged in.

2) Click on 'Add/Delete Rides' under the My Rides heading in your challenge dashboard menu on the left-hand side.
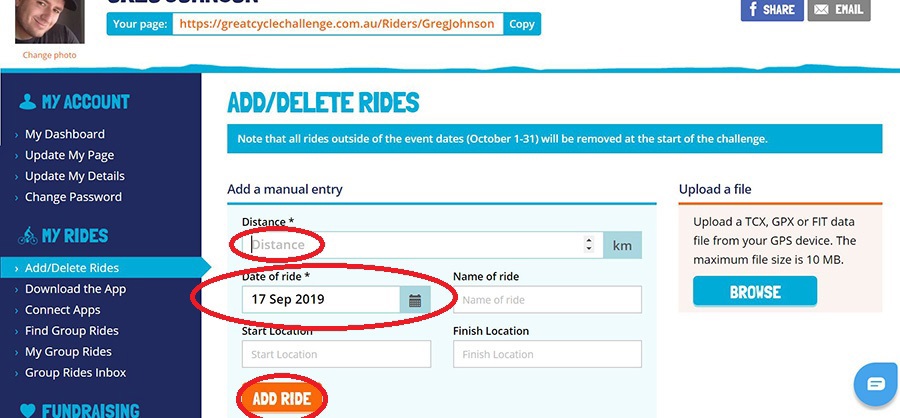
3) Enter the distance of your ride as a number and select the date of the ride. You can give your ride a name and add start/finish location, however, these details are optional. Click on the Add Ride button once to save your ride.
Riders using a spin bike that doesn't provide an effective distance ridden for their rides can use the conversion chart provided at the bottom of this page.
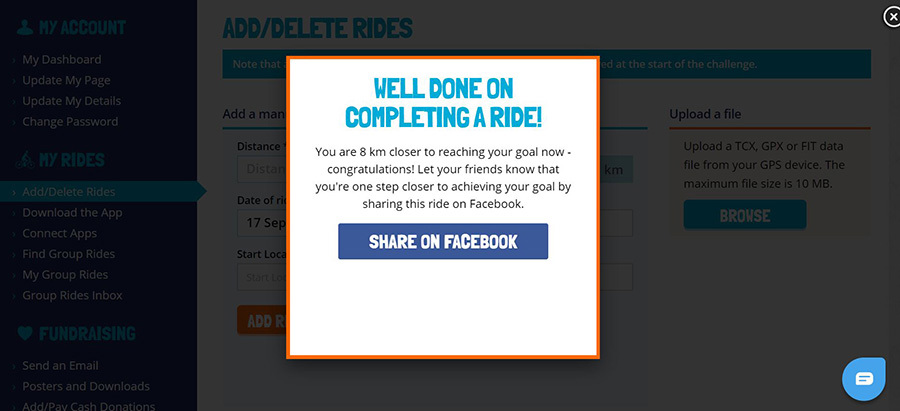
4) When the ride is successfully saved, you will see a 'Well Done' message like the below, which will also encourage you to share your ride on Facebook, to let your supporters know that you're one step closer to reaching your challenge goal. You can close this pop-up by pressing the X in the top right corner.
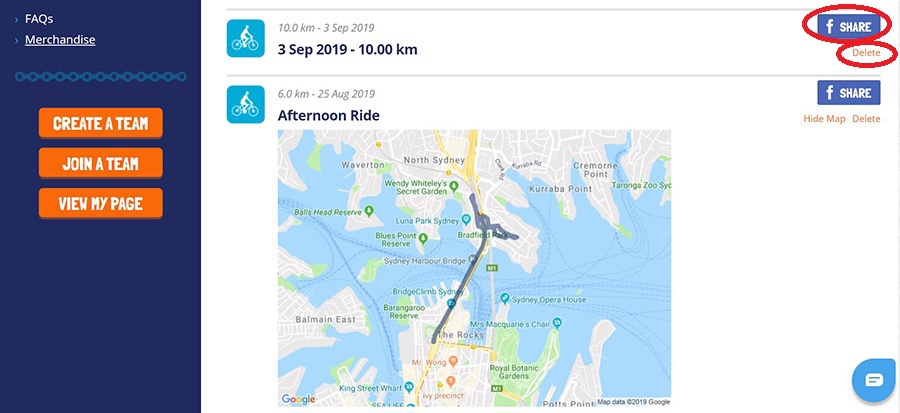
5) Rides added manually to your page will appear without a map (see below) on your public-facing page, since there is no GPS data associated with this ride.
.JPG)
6) The total distance ridden on your challenge page will only update from October 1 onwards, when the challenge's official ride period commences. All test rides added prior to October 1 will be removed from the platform at midnight on October 1.

7) You can Delete a ride or Share on Facebook by returning to the 'Add/Delete Rides' page where it was originally added, and then scrolling down to the specific ride you wish to delete or Share on Facebook. On the right-hand side next to each ride, you will see a text link to Delete the ride or you can press the Share button to share the ride on Facebook.